Where should I start?
A Beginners Guide to PageOptimizer Pro
Creating Your First Project
Firstly, welcome to PageOptimizer Pro! We hope that you enjoy the tool, and it's many functionalities.
However, all things must start somewhere; optimizing with PageOptimizer Pro is no different. So let's start from the top with Project Folder creation. In the All Projects Dashboard, click the "Create new" button.
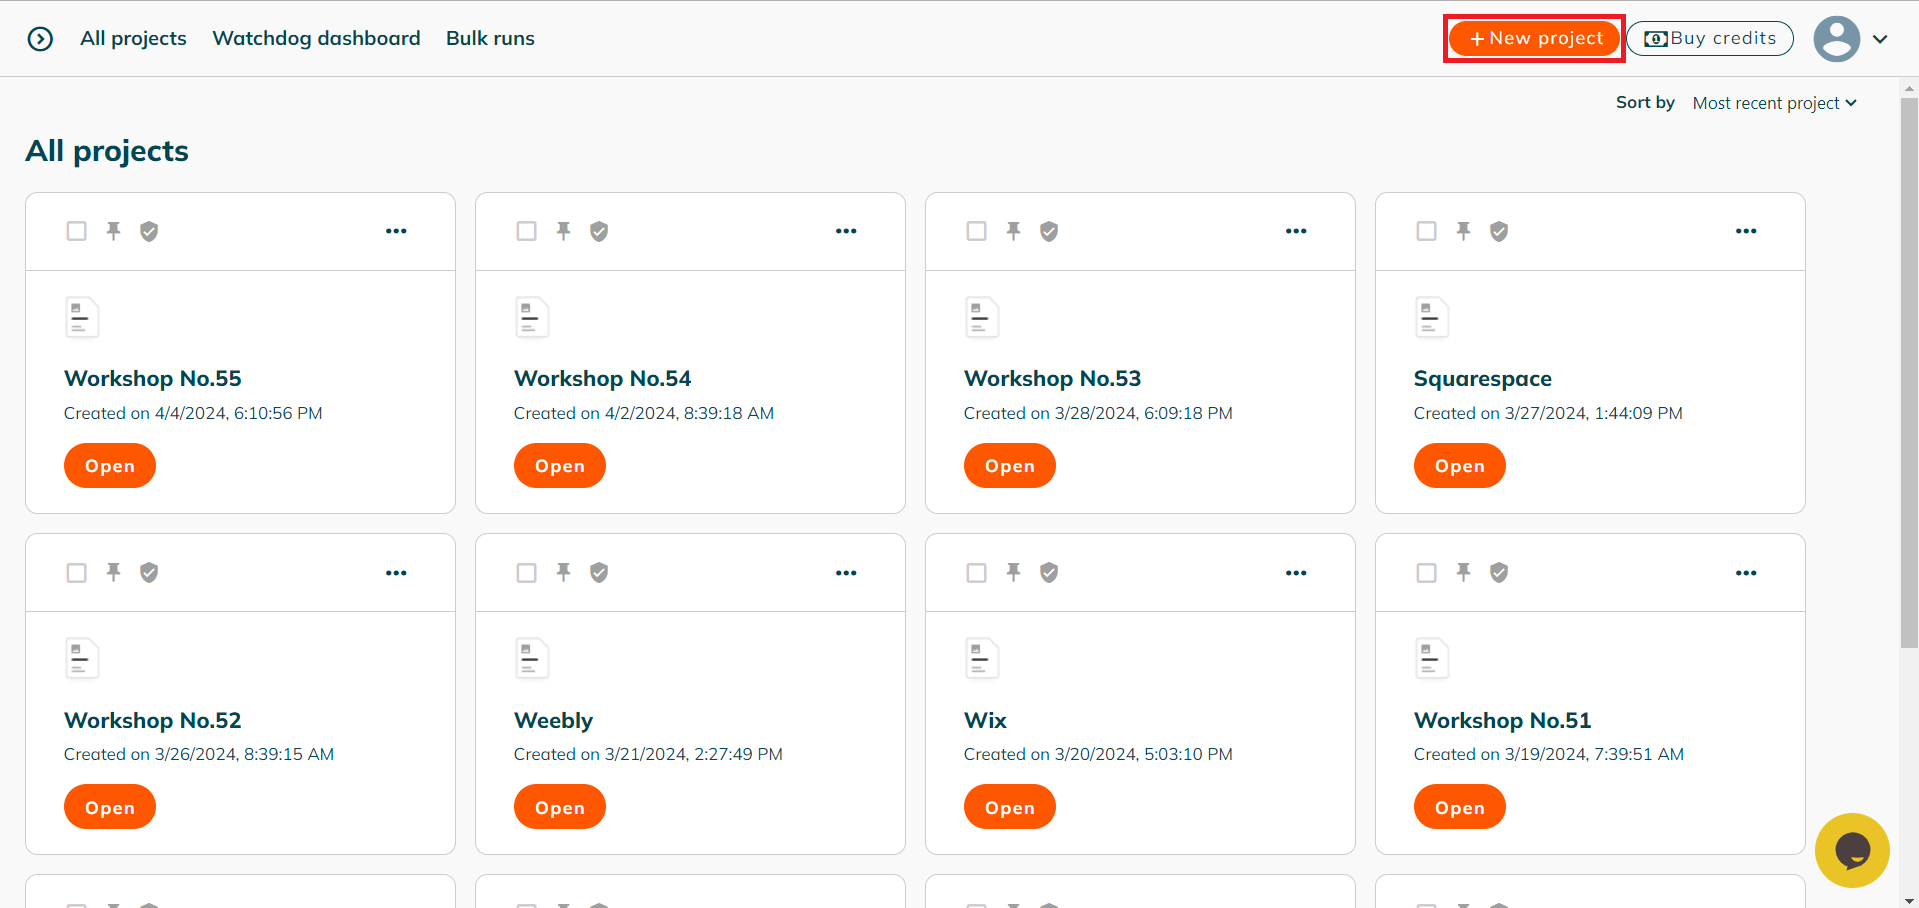
This will then reveal the "New project" option. Select this option, then you will be taken to the project creation screen.
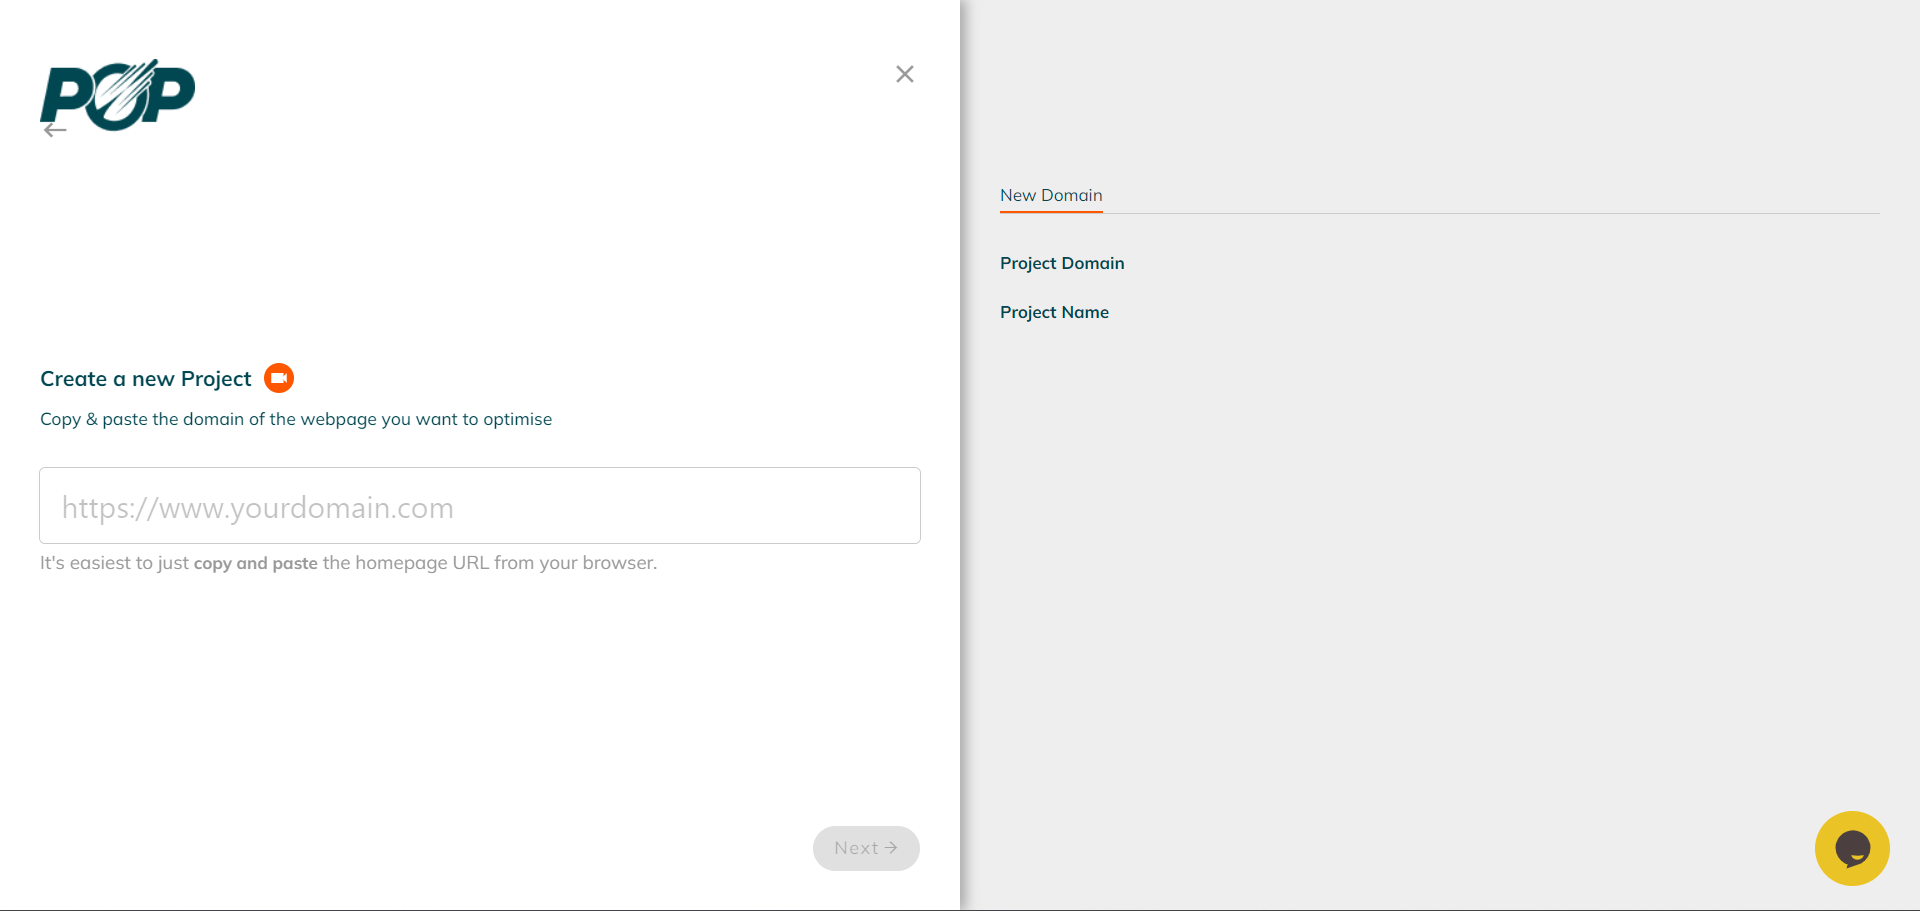
Here, you will want to specify the domain of the project. It is important to note, that the domain you select for the project is not able to be changed after project creation.
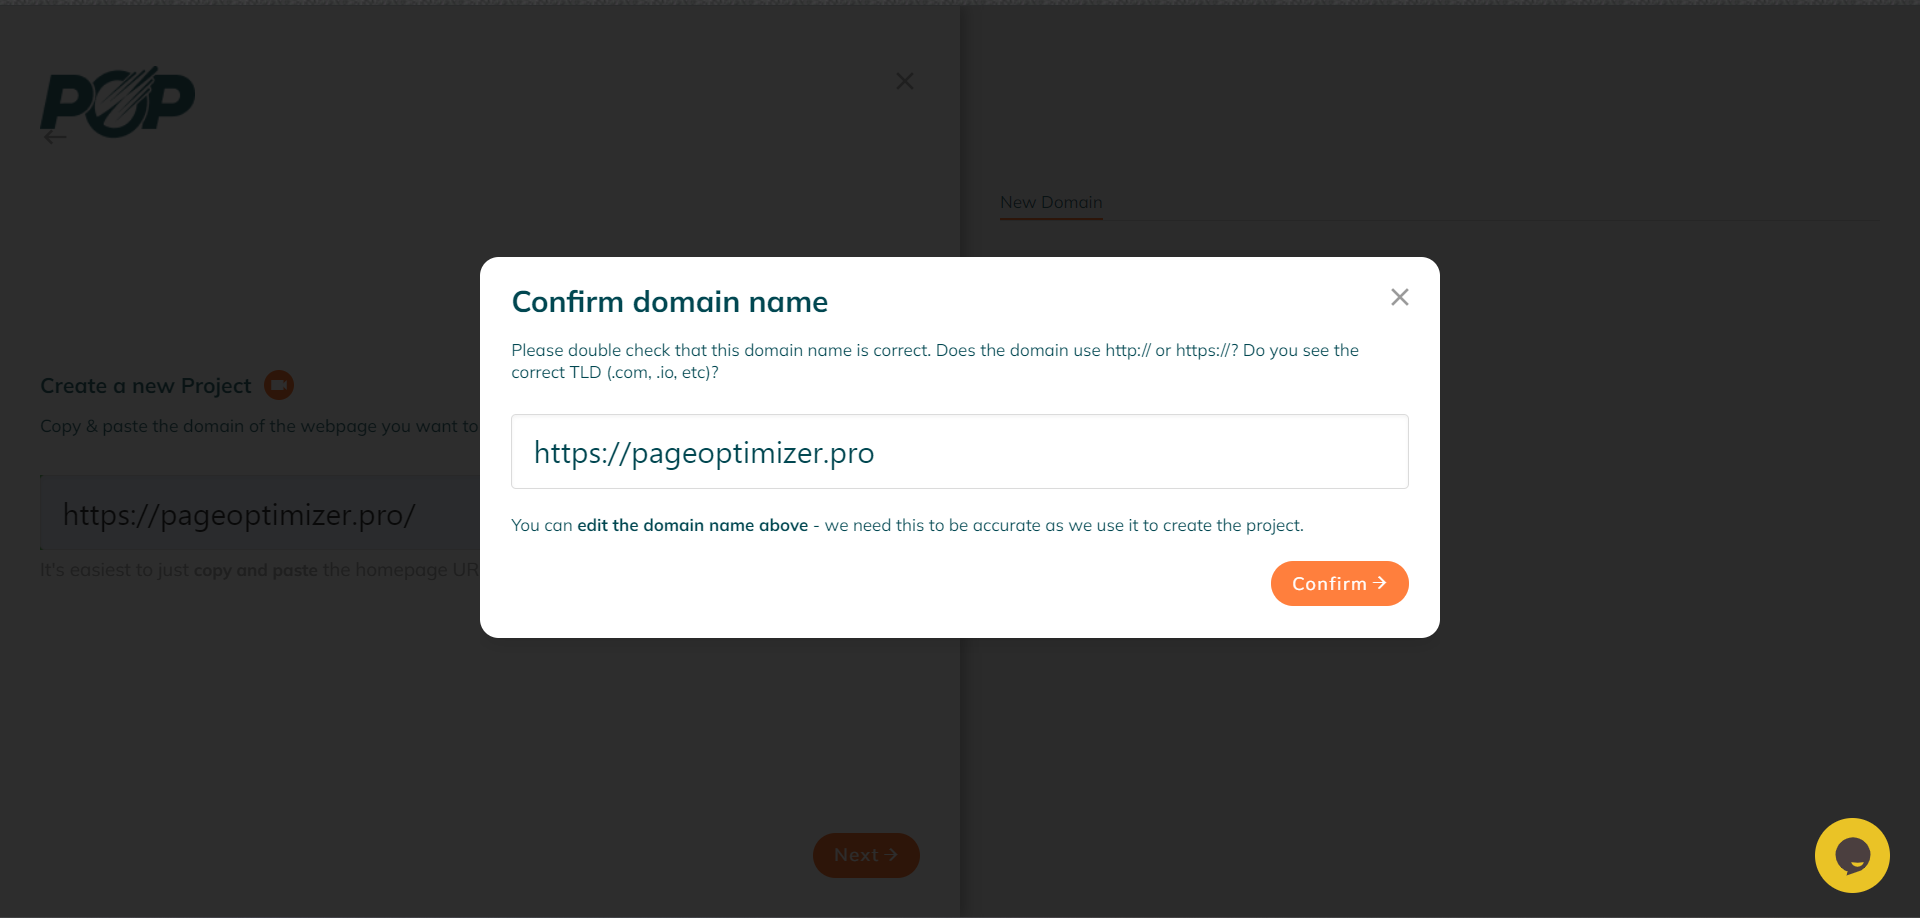
Clicking next, you will be prompted to confirm the domain's URL you have inserted. This is an opportunity in order to ensure that no typos are present within your domain URL.
I recommend taking at least a second to review the URL you have inserted. As if there are any typo's present in your URL, then the tool won't be able to find your homepage or page(s).
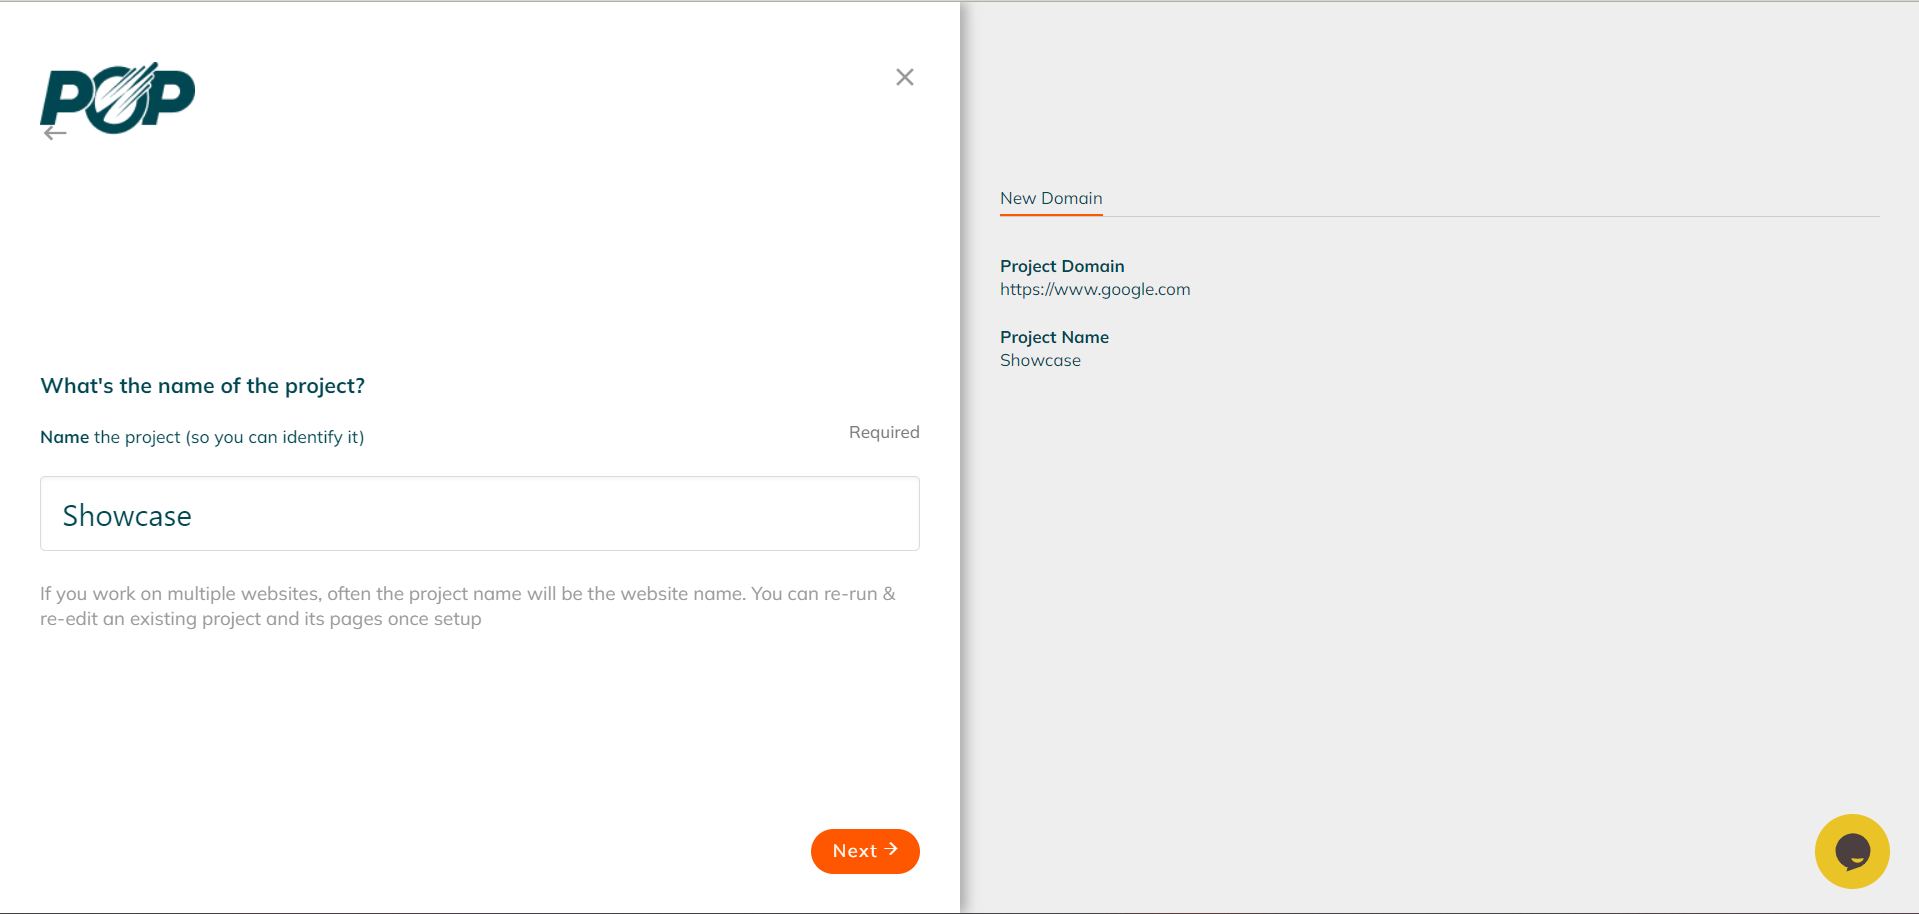
Once you have confirmed your projects domain, you will then want to click next to move to step three. On step three, you will be prompted to insert the name of your project. We recommend following some form of naming convention, in order to stay organized. Some examples are, "Client X", "Operation SEO", and "Project X 1/1/24".
Once you are satisfied, click next and congratulations! You have created your very first, PageOptimizer Pro Project Folder!
Creating a New Page
Once you create your Project Folder, you'll be taken into the Project Folder. Where you will be able to view the 'On Page Optimization' folder, and the 'AI Writer' Folder.
The On Page Optimization folder, will contain all PageRun's for the project you are in. PageRuns, are the Reports that contain the information you need to optimize your pages.
The AI Writer folder, will contain all AI Writer instances for the project you are working in. That is to say, if you use the AI Writer in one of the Reports, it will be visible in the AI Writer Folder.
You can use either of these options to create a brand new Report, or PageRun. The option you should choose depends on what you need. If you need to simply create a draft for your page as soon as possible. We recommend using the 'Create New' button in the AI Writer folder. As clicking it will take you immediately to the AI Writer after generation.
However, if you are attempting to simply create then view a report. We recommend selecting the 'Create New' button in the bottom left of the On Page Optimization folder; or alternatively clicking the 'Create New' button in the upper right hand corner of your screen then 'New Page'.

POP Pro and POP Custom: A Brief Description
After you select the "New page" option, you will be presented with two options. POP Pro, and POP Custom.
POP Pro is the method that we recommend whenever you need to create a report quickly to get started optimizing. Running with this method will require you to have your primary Keyword, target language, and target Location. However, it will automatically select your competitors, focus competitors, variations, and LSI (Latent Semantic Indexing).
POP Custom is a much more hands on process. Running with this method will allow you to manually select your competitors, and focus competitors. This also allows you to filter what variations and LSI enter your final report. If you are in a more competitive niche, and need to be stricter with the information that enters your report. Or, you are an SEO with a solid amount of experience in your niche. You may want to run using this option. Please keep in mind that this process also requires you to have your primary keyword, target language, and target location.
Today, we will be going over how to run using POP Pro.
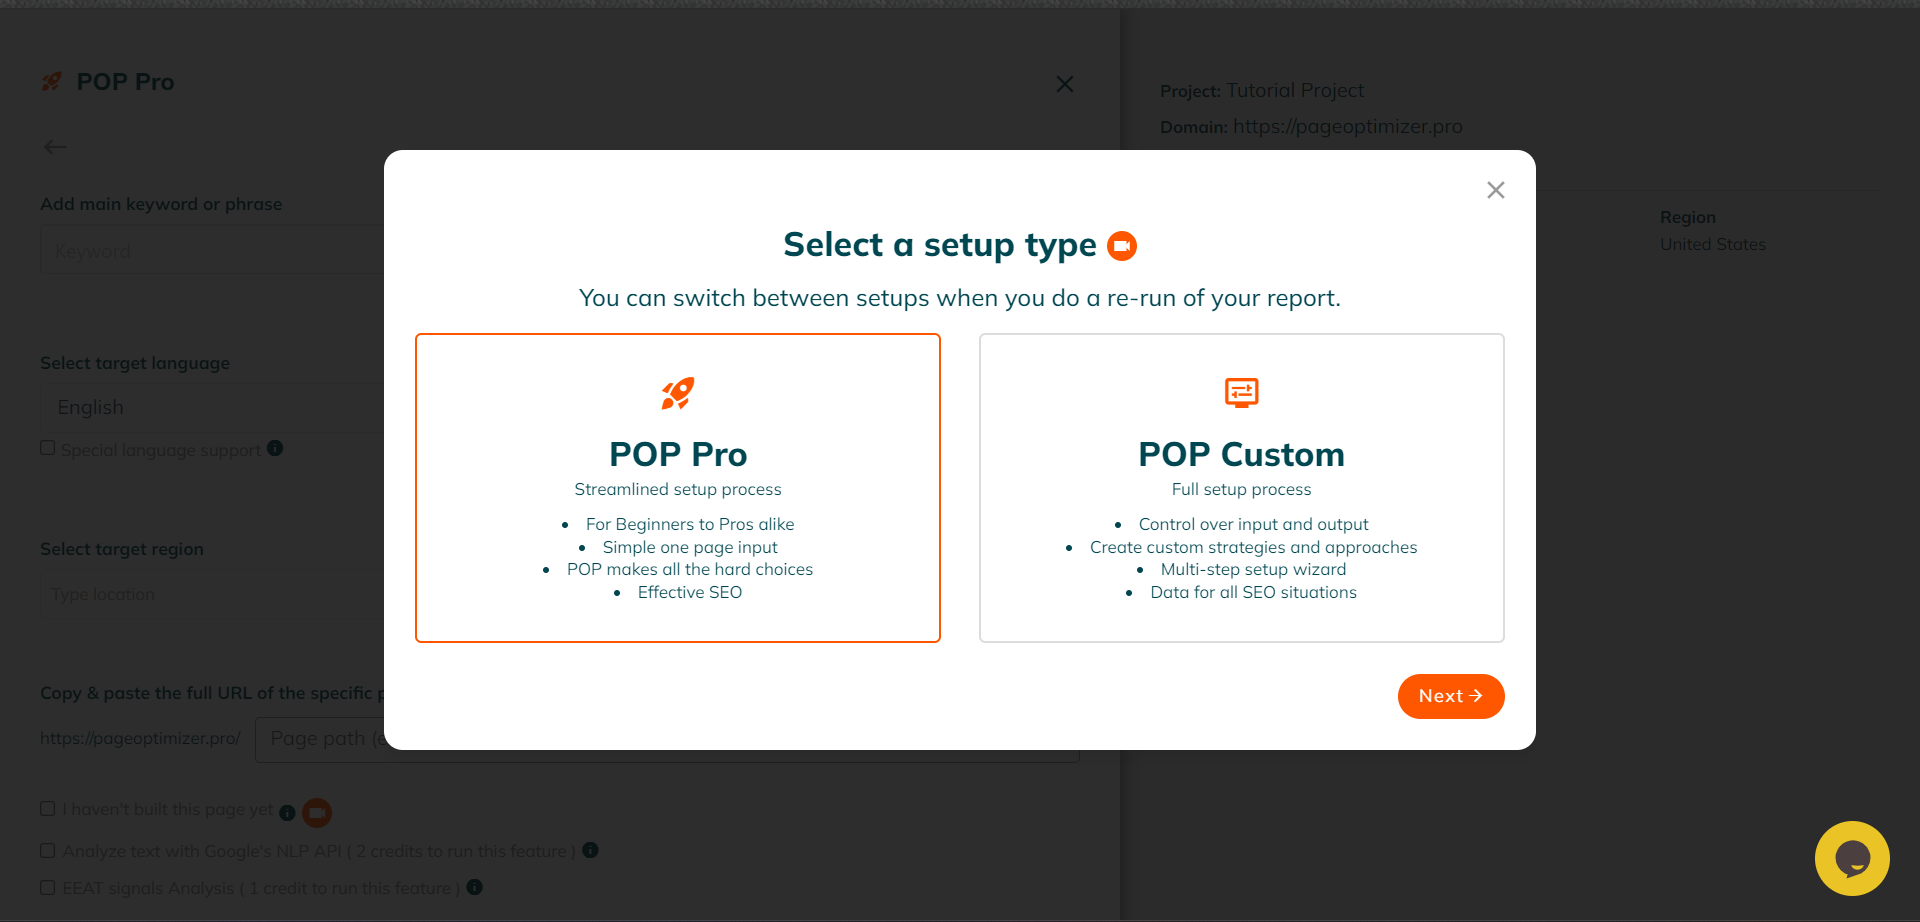
Selecting POP Pro, will then take you to the POP Pro report setup screen depicted below.
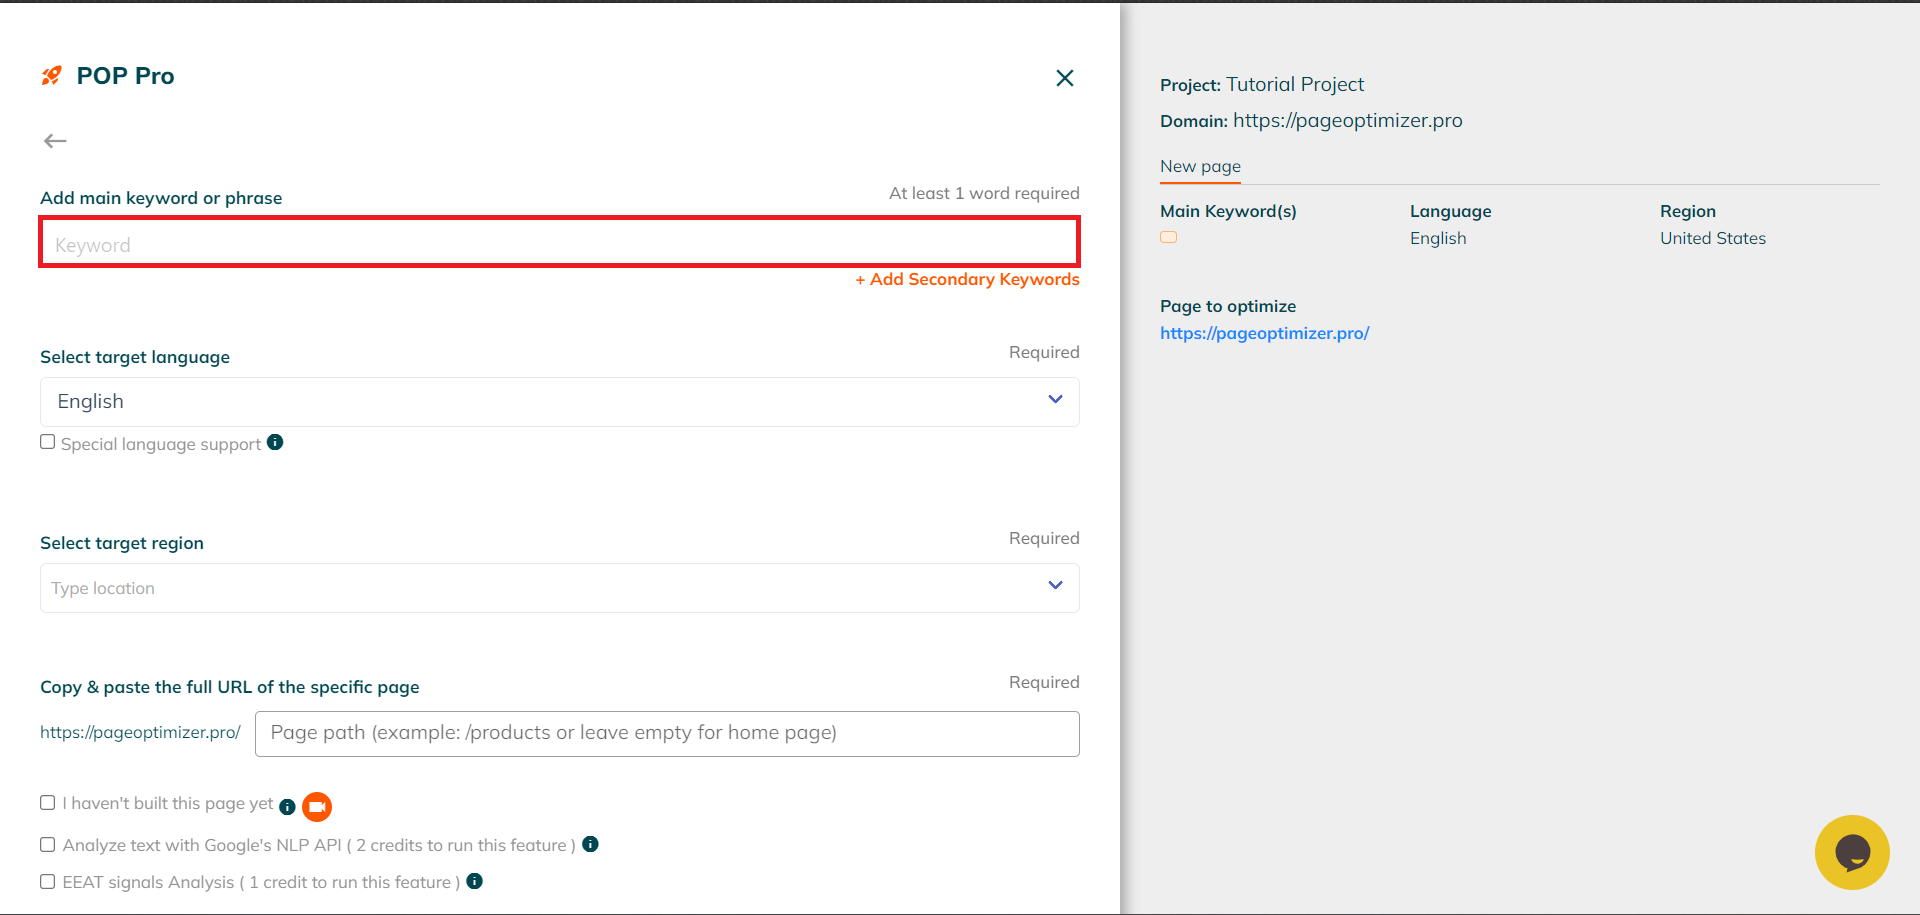
Step 1: Insert your Primary Keyword
The first step in setting up a POP Pro report, is to insert your primary keyword.
Once you have done so, below the primary keyword text field is orange text titled "Add Secondary Keywords". This will allow you to add up to three secondary keywords to the report. In the report, they will be highlighted in a neon green color, and labeled. You do not want to add other primary keywords, for example if you are adding the primary phrase "Houses for sale", you do not want to add "House for sale" as a secondary keyword.
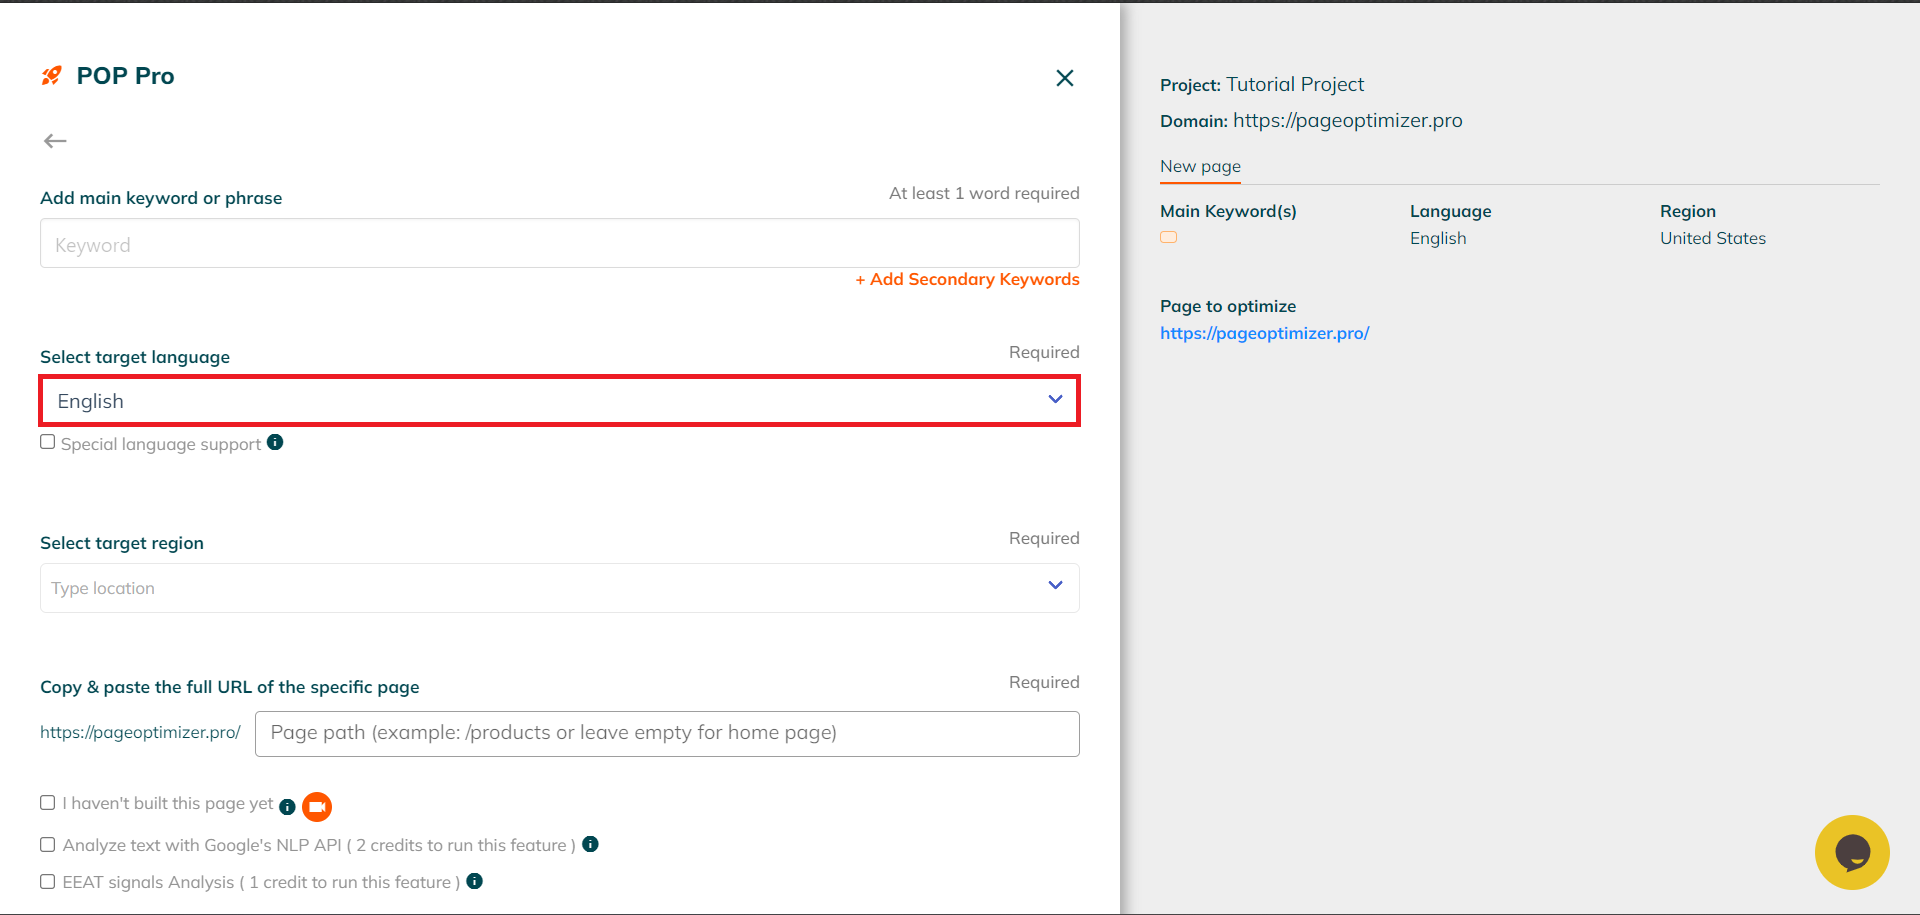
Step 2: Selecting a Target Language
From there, select your target language using the highlighted drop down. As we have over 60+ languages in PageOptimizer Pro, this drop down also doubles as a search bar. So if you don't see your language, you can always search for it.
If the selected language combines nouns and adjectives into one word. You will want to select the Special language support checkbox. This assist's the tool when it counts terms on your target page, and your competitors' pages.
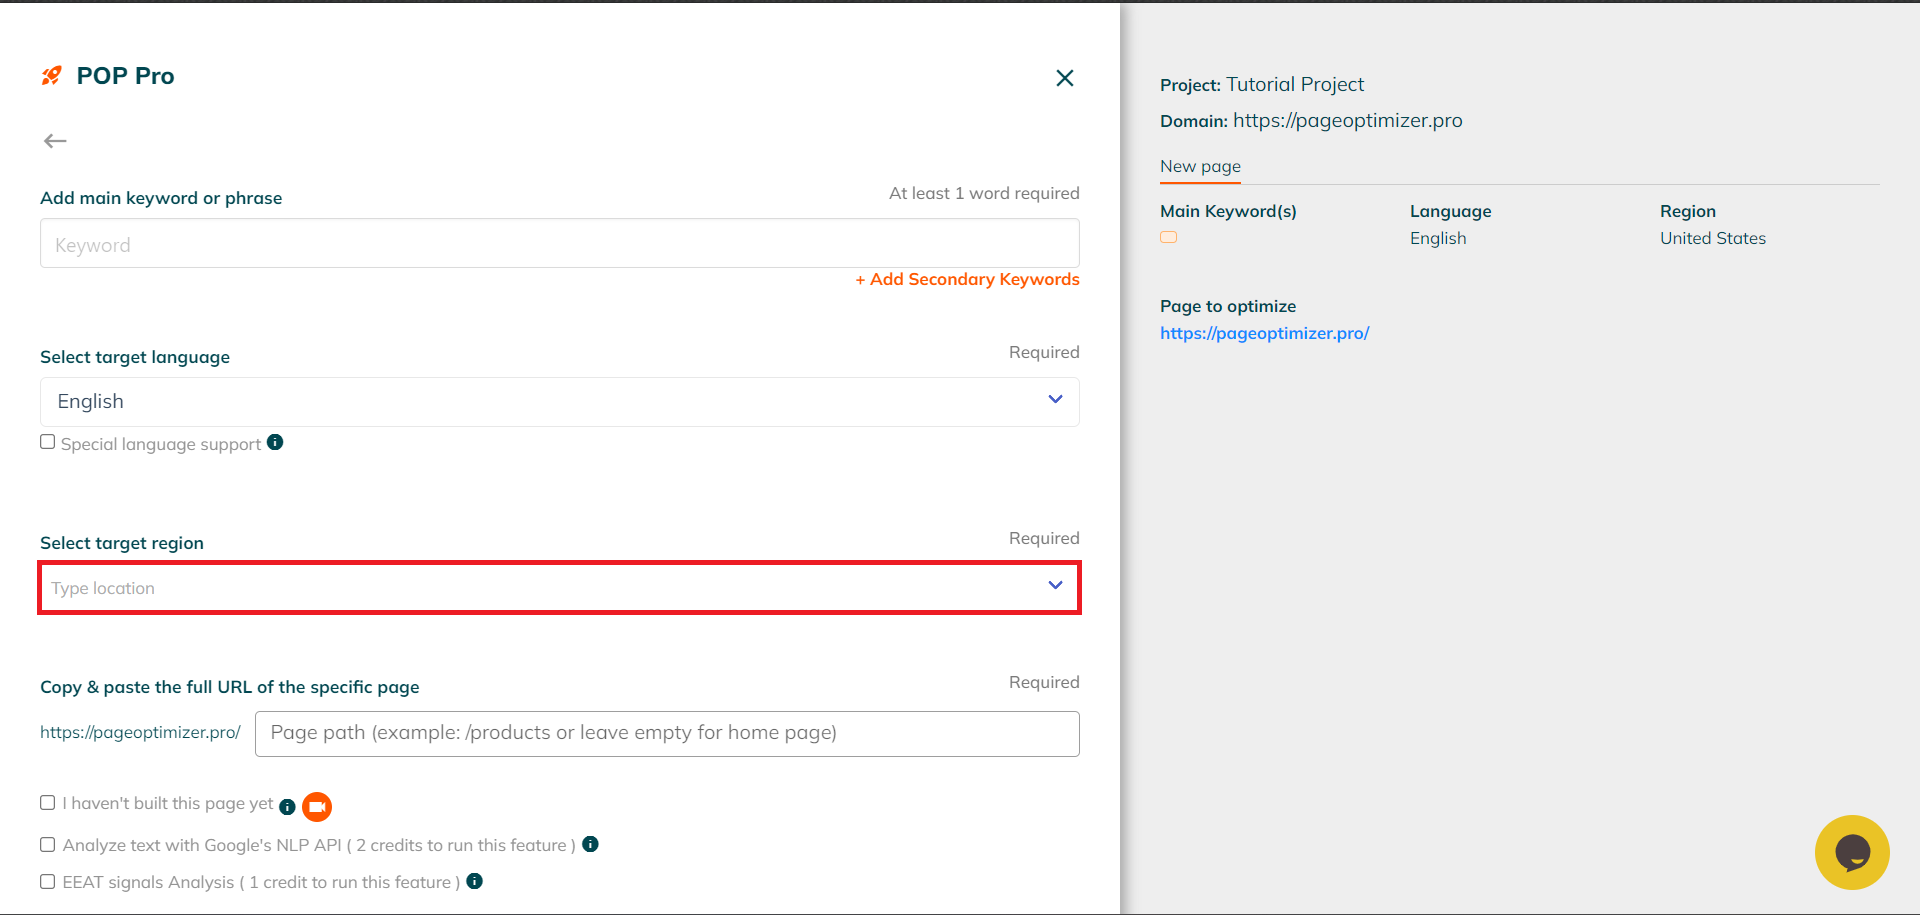
Step 3: Selecting a Target Region
After that, you will want to select a target region. The region you select, determines the area that is pinged for the google search of the report, the area where competitors will be pulled from, where variations are fetched, and where LSI are gathered; so keep that in mind when making your selection.
This drop down, also doubles as a search bar. We also recommend if you are searching for a server, to try multiple variations of it if you have not found it initially. This is particularly important for United States servers. As you will find some of the servers are named like so: "United States, Alabama, Abbeville", but others are named "United States, Alabama, AL, Birmingham", and "United States, AL, Huntsville-Decatur (Florence)"
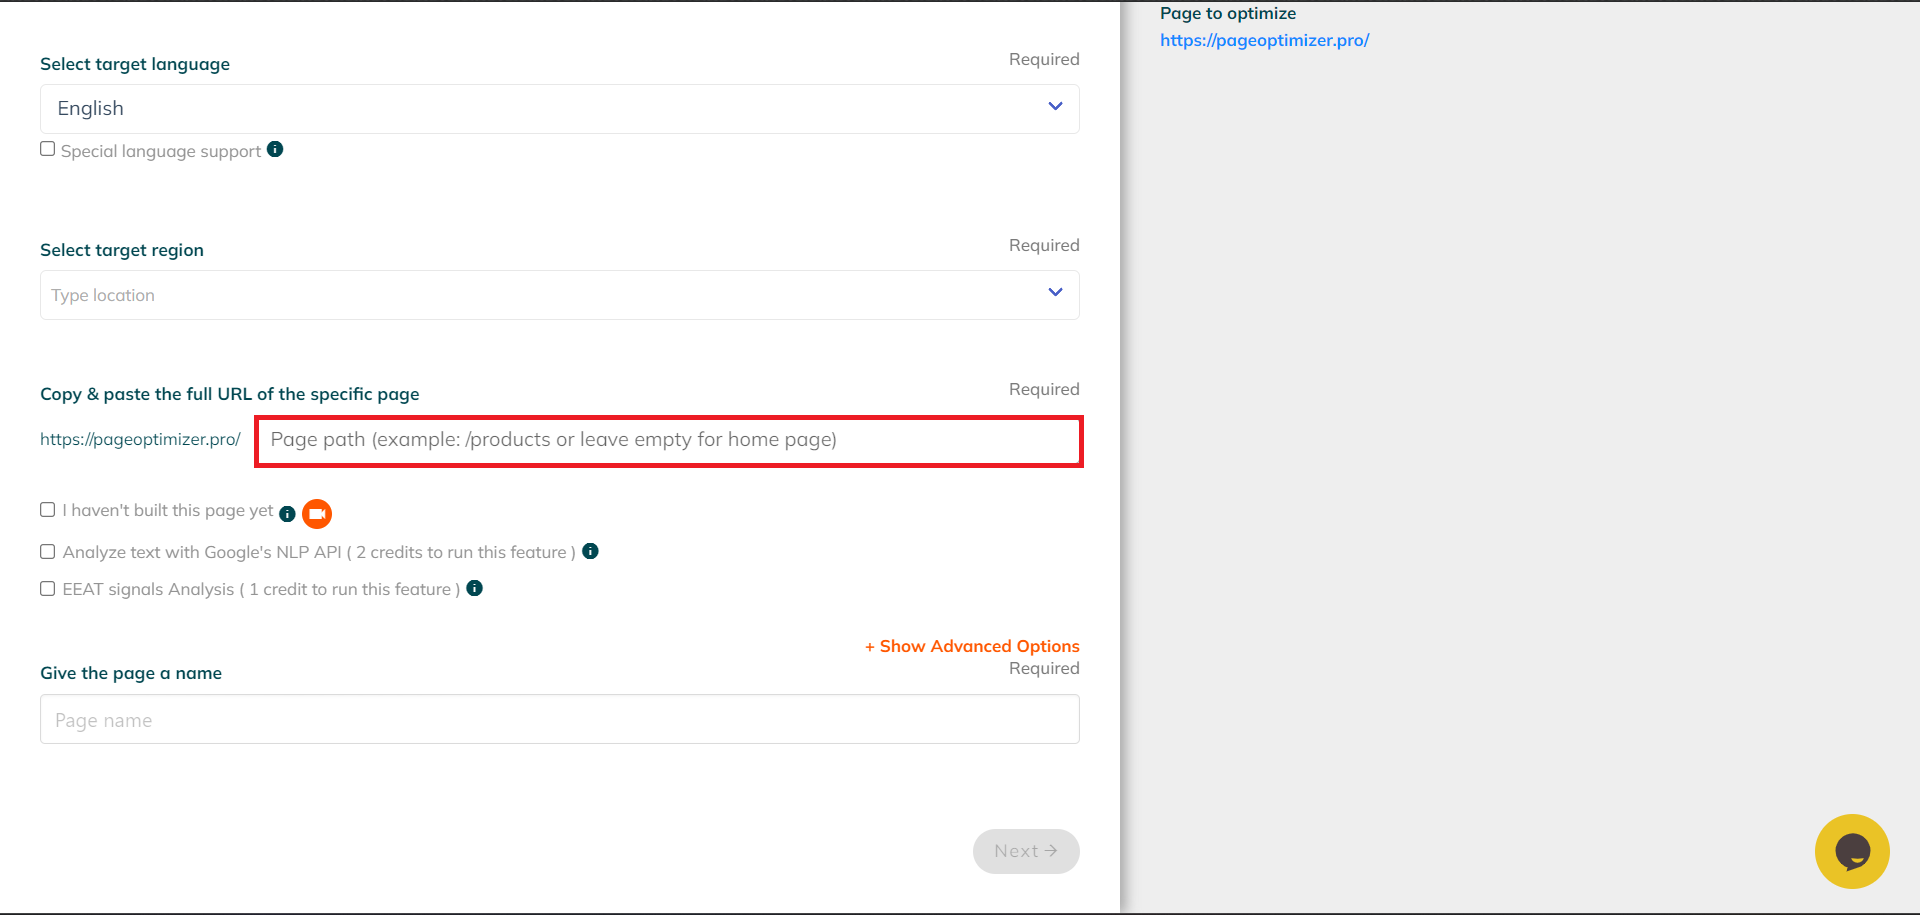
Step 4: Selecting a Target URL
With your server selected, you now need to choose your Page path. If you leave this text field empty it will use your homepage as the Target URL in your report. If your page is unbuilt, you will want to select the "I haven't built this page yet" textbox. This will cause the report generated to have a score of N/A, due to the page being unbuilt. Thus, there is nothing to score.
If you would like to generate the report with Google's NLP information, or EEAT Signal Analysis. You will want to select these checkboxes now as well. As you won't be able to generate that data after your report has been generated. You will need to run an additional report, or re-run your original report.

Step 5: Giving the page a name
Now for the final step, giving your page a name. We recommend coming up with a naming convention for this as well. As this will be the name present on the Page Folder if you are generating a New page. It will also be the name of the Page itself.
From there, the "Next" button should be highlighted in orange. Clicking it will being generating the Report. Once it finishes generating, huzzah! You have successfully created your first Page, and Page Folder.